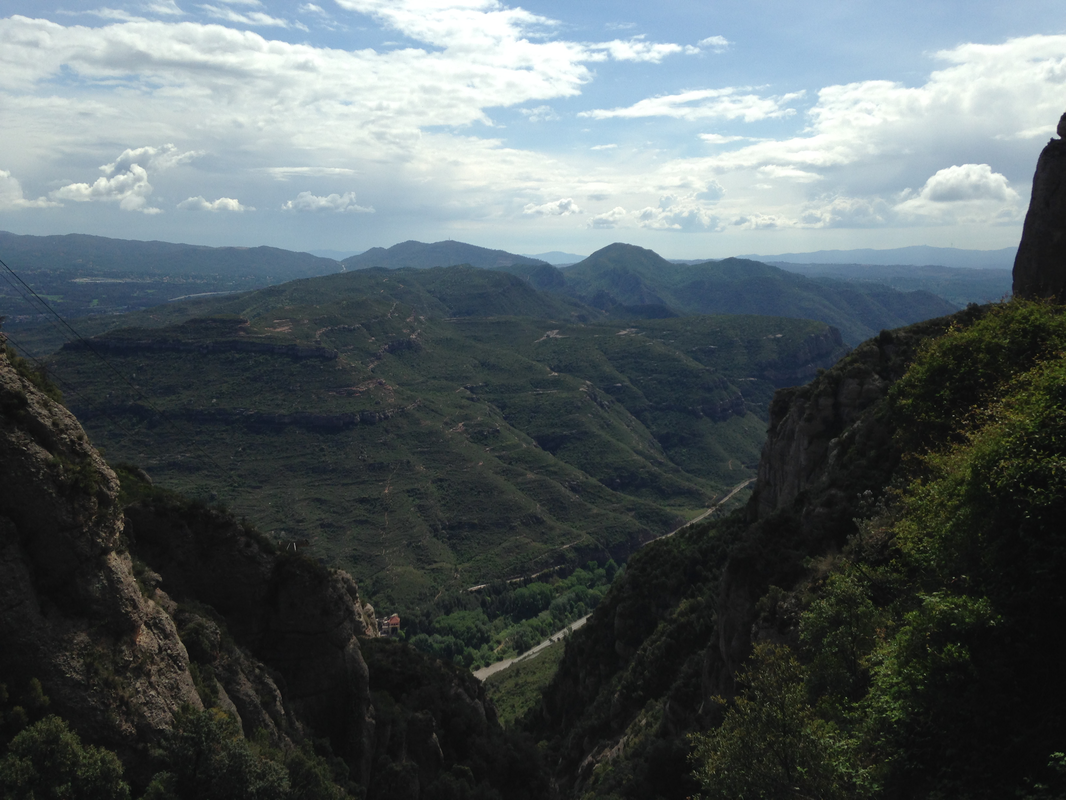
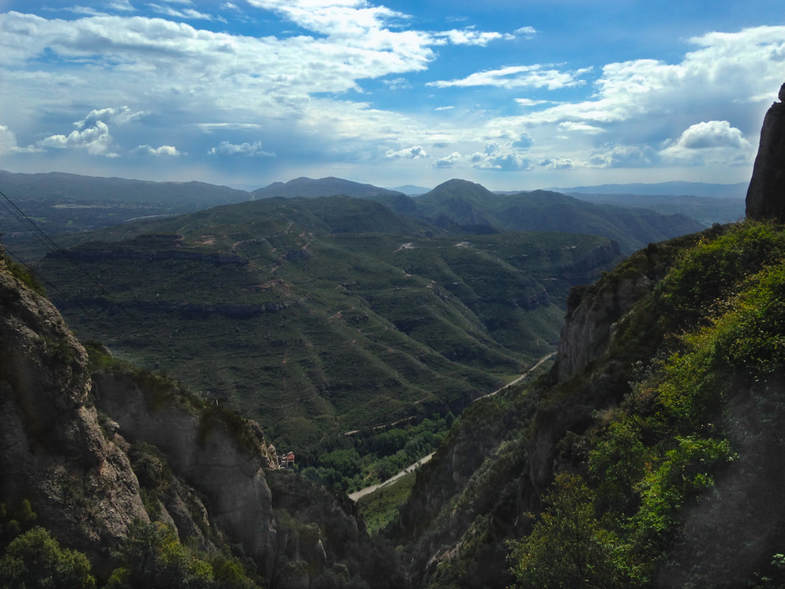
BARCELONA, SPAIN
|
|
For this photo taken in Barcelona, Spain, we improved the photo in Lightroom. First we edited the sky, we highlighted it with the contrast pen and outlined the sky. We adjusted the contrast to create depth within the clouds and the mountains in the background, then we increased the saturation and made the temperature cooler to bring out the blue and to make the sky look like a bright, sunny day. Next we highlighted the tops of the mountains in the background to make them more emphasized with the highlight brush. Then we highlighted the dirt path at the bottom using a very small brush and increasing the exposure. For the greenery on the rocks, we enhanced the colour by increasing the exposure and the tinting to the greener side. Next we increased the exposure and highlighted the very dark parts of the rock in the foreground to bring out it's grey colour. Next, we increased the sharpen for the buildings at the base of the rock to improve it's quality. Then we highlighted the outline of the vertical rock on the far right. We also increased the shadows behind the middle mountain to create depth while also highlighting it's ridges to give it a multi dimensional look. In the original, the trees were a bit dull, so we used the saturation tool and increased it's colour. Lastly, using a very fine brush we used contrast to outline the two wires coming from the left to make it stand out more than it already did.
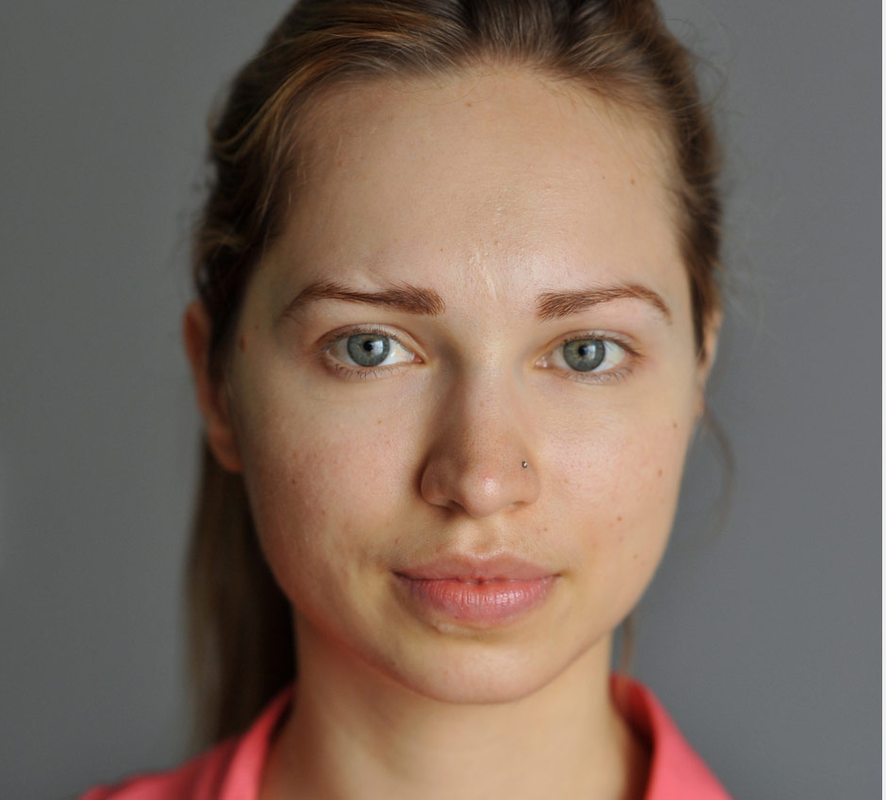
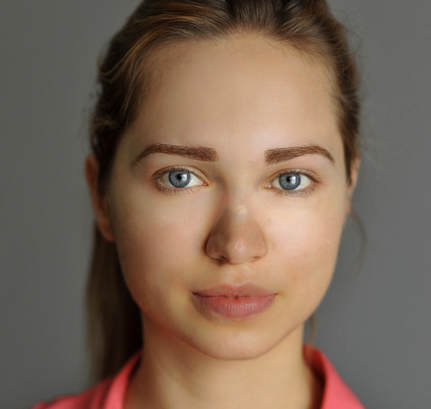
WOMAN WITH FLAWS
|
|
On Lightroom we took a woman with lots of blemishes and fixed them. First we started off by clearing her skin of any moles, acne, scars, and blackheads. We used the clone and heal tool and zoomed in to fix her nose, forehead, chin and cheeks. By doing this, we ended up with her skin free from any blemishes. We also used the clone tool to remove her nose piercing. Next we applied a small amount of the tool smooth skin to make sure we succeeded in ridding her face free from blemishes. Next we fixed her eyebrows by using the clone tool. We created a better shape to create thicker eyebrows. Then we used the burn tool to darken her eyebrows and outline them to give the appearance of makeup. We also used the burn tool to outline and darken her tight line and lashes to make the appearance of longer eyelashes. We also used dodge to darken her pupil and outline of her iris to make her eye colour pop. Next, we used the tool dodge to brighten the whites in her eyes and the shine on her iris. We then used the colour tool to change the colour of her eyes from a dull blue-green to an icy grey-blue. We also used the colour tool to give her lips a rosy tint compared to her original pale pink lip colour. Next, we used the dodge tool to highlight her under eyes to get rid of any darkness, it gave the model a more awake appearance. Lastly, we used the dodge tool to highlight her brow bone and the space around her mouth.
